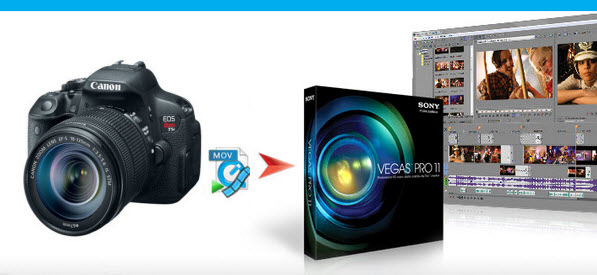
When you got the Canon T3i, T4i, T5i entry level dSLRs cameras, you would look for an easiest way to import Canon Rebel T3i/T4i/T5i footage into NLE like Sony Vegas Pro. Although the tools for importing the footage have been updated by Canon, it seems not working well when loading T3i/T4i/T5i video to Vegas Pro. To help you solve the issues, we will throw a quick tutorial up on how to enable Sony Vegas Pro to ingest videos from Canon T3i/T4i/T5i smoothly without plug-in.
As you know, Canon T3i/T4i/T5i (EOS 600D/650D/700D) all can capture videos saved in 1920 x 1080 (30, 25, 24 fps) with H.264 as video codec and stereo sound. While, this MOV video format came from Canon is a Full HD format that is highly compressed, and it can’t be imported and edited in Sony Vegas Pro easily. So, the H.264 compression format should be transcoded into a format better suited for editing with Vegas Pro, and MPEG-2 is. Along with some help from a third-party software, you can achieve your goal in the simplest way.
Brorsoft Video Converter is the tool you need. It is good at encoding camera shootings in different formats (H.264 MOV, MTS/M2TS, MXF, etc.) to video editing software compatible file types, i.e. DNxHD for Avid Media Composer, MPEG-2 for Sony Vegas Pro/Adobe Premiere Pro, WMV for Windows Movie Maker, HD AVI for Pinnacle Studio, etc. It makes the experience of editing Canon T3i/T4i/T5i HD Video with Sony Vegas Pro as fast and seamless as possible. Just download a free trial here and follow the guide below to convert Canon T3i/T4i/T5i MOV to MPG for Sony Vegas Pro further editing.

Step 1: Run the top Canon video converter and load H.264 MOV clips to the program. You can click either “Add Video” button or “Add from folder” button to load source MOV files.
Tip: If you want to combine the loaded MOV clips into one file, simply tick off the checkbox before “Merge into one file”.
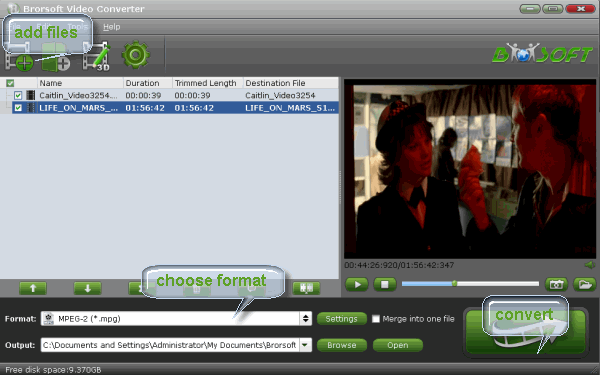
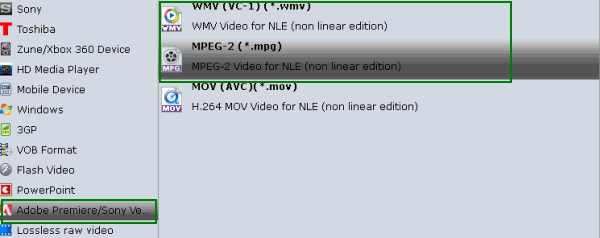
Step 2: Click on the Format box to get the dropdown menu. Select Adobe Premiere/Sony Vegas --> MPEG-2 (*.mpg) as output format.
Tip: By clicking “Settings” button, you are able to enter the “Profile Settings” panel to adjust video and audio parameters for your Canon MOV source files, including video size, bit rate, frame rate and more.
Step 3: Click “Convert” button to start transcoding Canon MOV to MPEG-2 for Sony Vegas Pro.
Once the process completes, you are able to ingest and import Canon T3i/T4i/T5i footage to Sony Vegas Pro for further editing as you want.
Related Guides:
Editing Canon T5i .MOV files in iMovie/FCE
How to import Canon T5i video to Final Cut Pro
How to transfer Canon T3i/T5i footage in Windows Movie Maker
