iDVD is a DVD-creation application for OS X produced by Apple Inc which makes it easy to create your own video DVDs, complete with animated menus and special features. iDVD allowed the user to burn QuickTime Movies, MP3 music, and digital photos to a DVD that was then played on a commercial DVD player so the viewer doesn't have to worry about having the right software or codecs.
However, when Mac users try to import DVD movies to iDVD, it failed. And some users encounter troubles quoted as below while trying to take the DVD contents into iDVD for postproduction.
"I'm trying to do a PiF by making a copy of a fan edit that someone sent me, so I copied the TS_video folder onto the hard drive and then opened up iDVD to try and burn a copy of it onto a blank DVD-R but I can't figure it out. Can you even do this in iDVD or do I need different software?"
"Is there a way to take the contents of a DVD and import it into iDVD? I have a home movie on a DVD, and want to make a nice fancy menu and possibly add a beautiful slide show in iDVD and and burn it to another DVD."
The main reason is that DVD to iDVD as a project does not contain standard video tracks that iDVD can follow. iDVD can import MP4, MOV format not including DVD formats. iDVD supports most video or image files supported by QuickTime. In other words, iDVD can not recognize and handle DVD movies and DVD folders so far.
If you're eager to import DVD movies to iDVD directly, there is an efficient way to put DVD to iDVD with fast speed. It just comes from some help with third-party software like Brorsoft DVD Ripper for Mac, which is a powerful yet simple-to-operate Mac DVD ripping software that can convert DVD to MP4 or MOV format compatible with iDVD perfectly. With the Mac DVD Ripper, you can also import DVD to other Apple programs such as iMovie, Final Cut Pro or Final Cut Express directly without any troubling problem. Now download this program and follow the guide below to complete your task.
Free Download the Mac DVD to iDVD Converter:
Part 1: Ripping DVD to iDVD compatible formats on Mac
Step 1. Load DVD Movies
Launch the mac DVD Ripper and click “Load file(s)” to import original DVD discs or DVD folder.
Step 2. Set output format
Click the "Format" drop down list to select MOV or MP4 format from "Common Video" list as the output format.
Tip:
1. For iDVD burning, the video size should be 720*480 in Profile Settings. If you want to get higher resolution, you can set the parameters by yourself.
2. The ripped video should be within 2GB.
Step 3. Start conversion
After all settings finished, tap the “convert” button to start ripping DVD to MOV for iDVD
Part 2: Burn ripped DVD MOV videos to a new DVD via iDVD
Step 1: Open iDVD
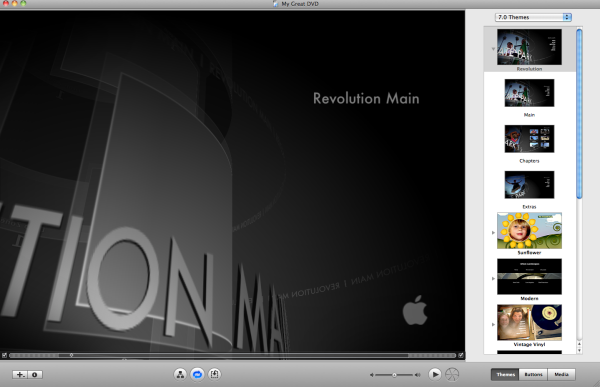
Step 2: Choose a menu theme and use the iDVD prompts to customize it.
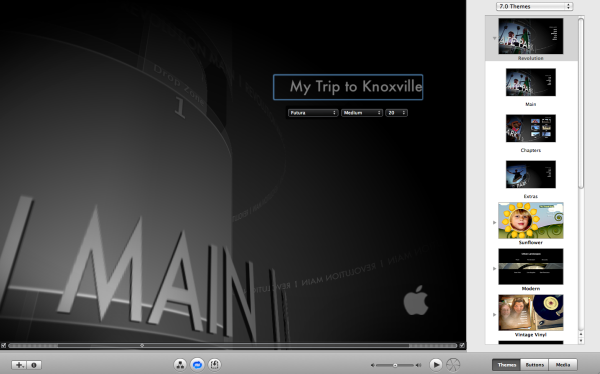
Step 3: Drag the video you wish to burn into the drop zone on the DVD menu.

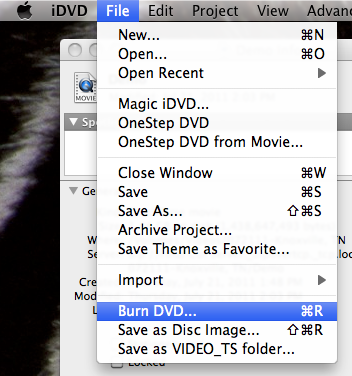
Step 4: Insert a blank DVD-R (DVD+R's will not work) in the DVD drive and click the “Burn” button (fourth from the left) on the bottom of the window to turn on the burning feature.
Step 5: Check carefully all of your settings and then press “Burn”. This will automatically render the project and start the burning process.
This process can be timely depending on the length of your DVD project, approximately 5-10 times the length of your movie. When the DVD has been burned, the DVD will eject itself from the computer.
Related Guides:
How to import DVD movie to Final Cut Pro
How to upload DVD clips into iMovie
How to rip and import DVD to Avid MC
